
Internal Switch Process
An Internal Switch can be done if:
1. both the sell and buy instruments have the same Dealer and Instrument Provider, and
2. both the Collective Investment Schemes of the sell and buy instruments have the “Can do an internal switch?” field checked.
Steps to do this are as follows:
1.Add and Submit Instruction
Go to the relevant investor account and select ‘Add Instruction’
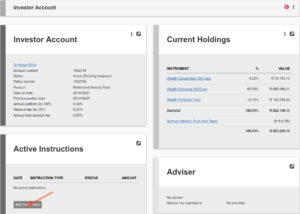
Select the instruction type from the drop down list

Option 1
Do a Re-balance by specifying the end result of what the account should look like. The system will determine which instruments need to be bought sold.

Option 2
Do not update the ‘Split’ section as in Option 1. If you have updated the ‘Split’ section, select ‘Reset’.
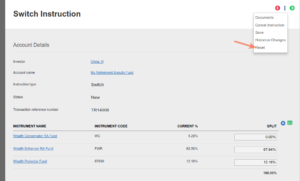
Select next to do a normal switch and specify the sell and the buy components:

Update the Sell Part of the switch:
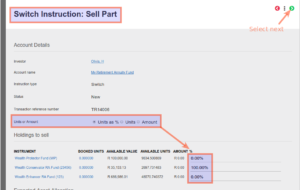
Update the Buy Part of the Switch:

Check the final confirmation page and submit the instruction:
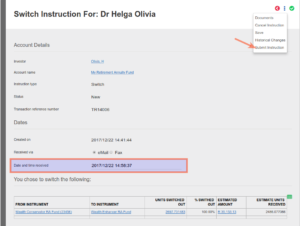
2. Authorise Instruction
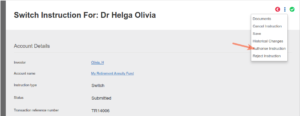
3.Create the Dealer Instruction
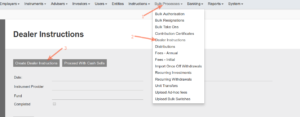
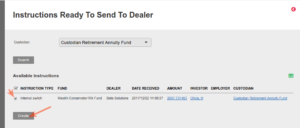
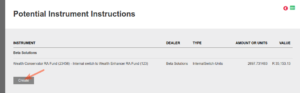
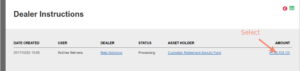
The system automatically create a Dealer Instruction to be send to the Dealer
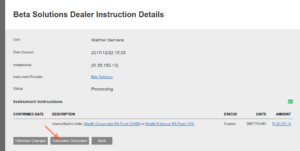
4. Confirm the Units received
Return to the dealer instruction.
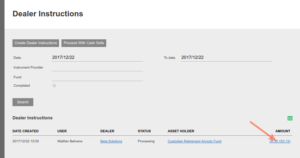
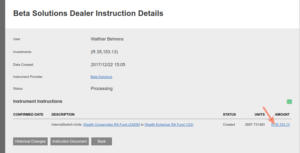
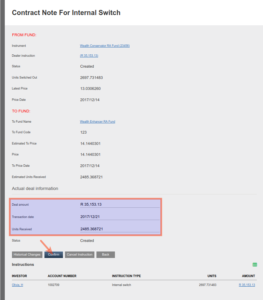
On Confirmation the internal switch is completed.
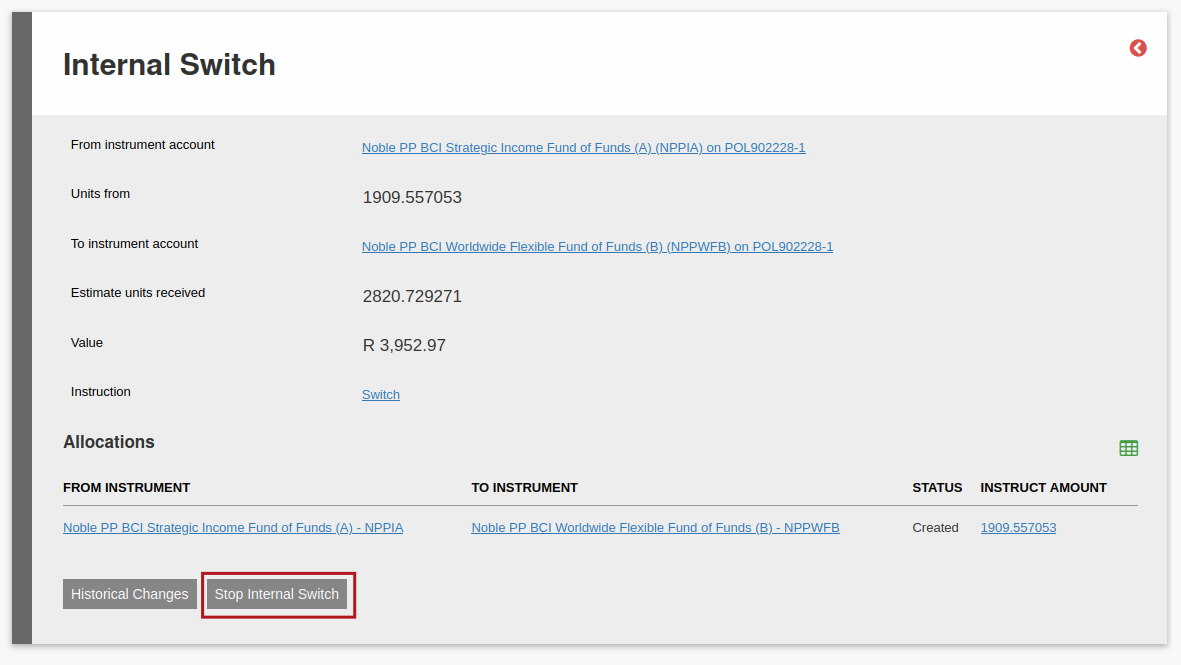
5. Stop an Internal Switch
If an instrument instruction has not been created yet, you can Stop the internal switch, by clicking on the Stop Internal Switch button:
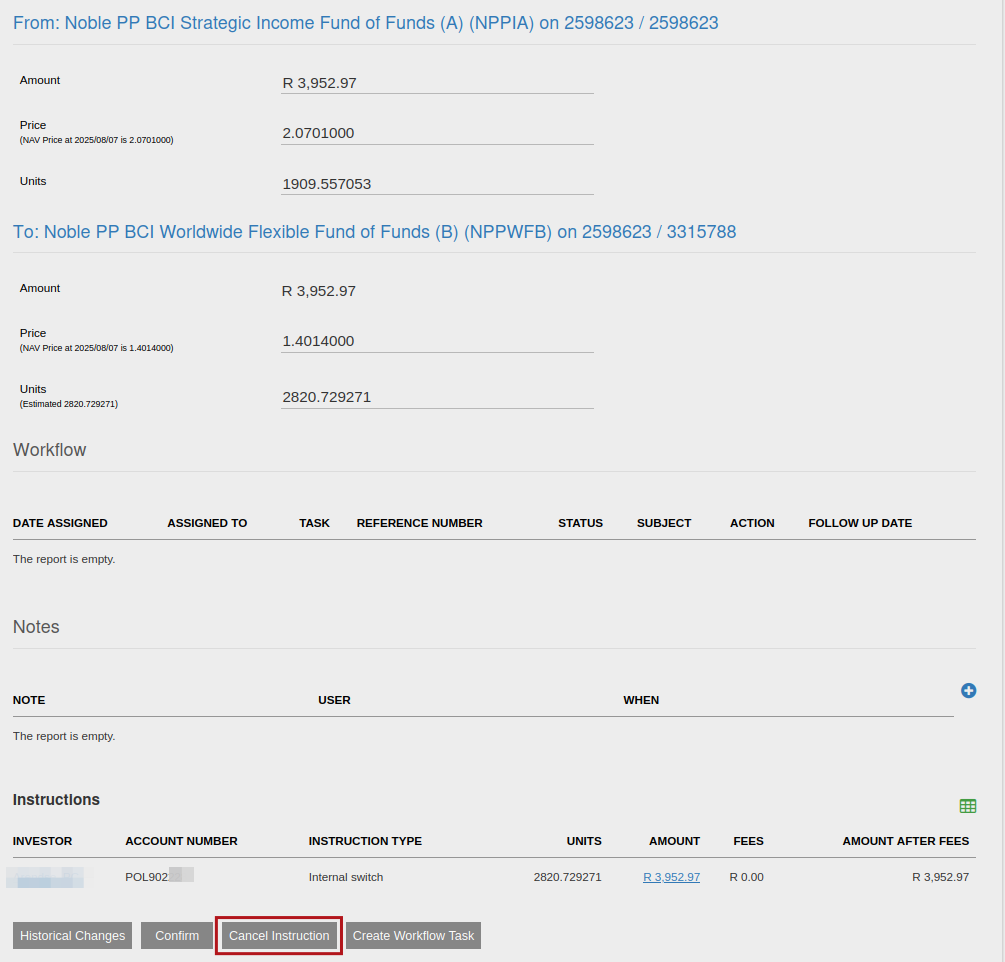
If an instrument instruction has already been created, and it can still be canceled then first cancel the instrument instruction, and then stop the internal switch. Navigate to the instrument instruction and click Cancel and then follow the instructions above to stop the switch.
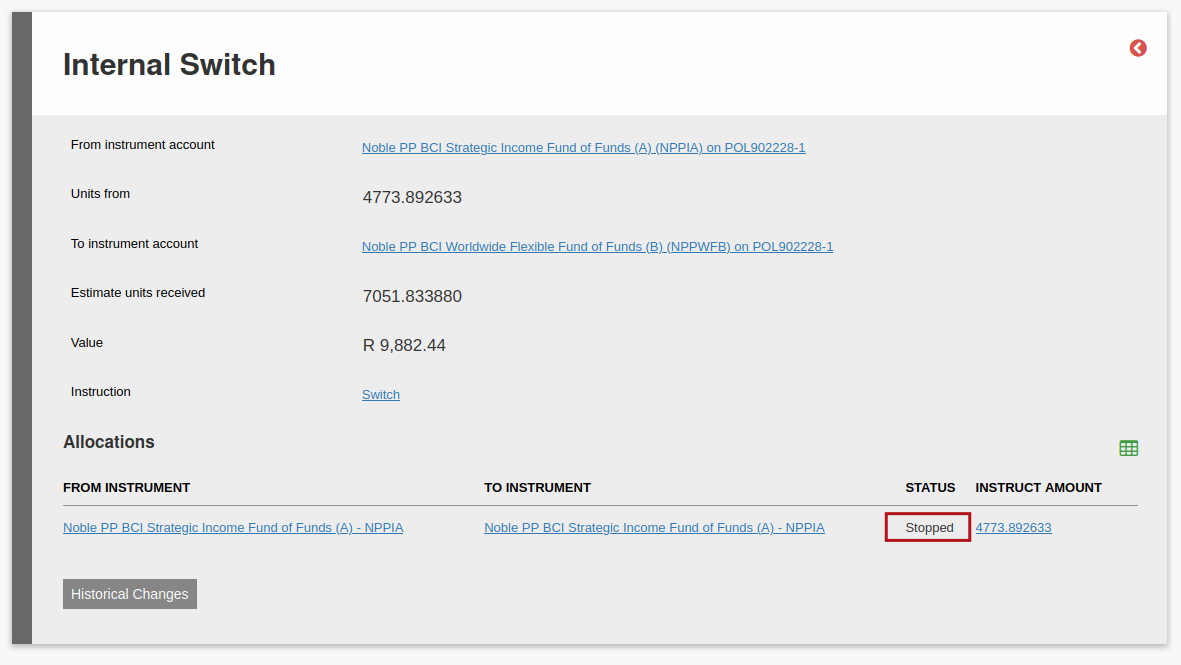
Once this is done, the switch instruction will be completed and the allocation will show as stopped:
Last Updated on 1 year ago by Adrienne Dill